


The native Voice Memo app on iPhone provides a great way to record meetings and seminars or even make quick audio notes of your ideas on the go. But too many recordings can take up valuable space on your iPhone and slow it down, so it’s useful to transfer voice memos from iPhone to Mac. There are multiple ways to do this and here, we’ll look at 3 methods that are easy, quick, and, most importantly, free! Let’s begin. Show
Integration of Voice Memos app with iCloud keeps your voice notes safe and synced on your Apple devices. Using the steps below, we will ensure that everything is appropriately synced, and you have no issue accessing the voice recordings you make from iPhone on Mac and vice versa. Make sure your iPhone is running the latest iOS 13, and your Mac is running macOS Catalina. Also, ensure you are signed in with the same Apple ID on both.
How to Transfer Voice Memos from iPhone to Mac Without iTunesWe will be using one of the several sharing tools available in iOS 13 Share Sheet to transfer voice memo from iPhone to Mac. Transfer iPhone Voice Memos to Mac Using AirDropBefore you begin, turn on Wi-Fi and Bluetooth on your iPhone and Mac. Also, make sure AirDrop discovery is set to Everyone or at least Contacts Only.
Transfer iPhone Voice Memos to Mac Via iCloud Drive
Transfer iPhone Voice Memos to Mac Using EmailYou can also email the voice recording to yourself or other email accounts.
Note: In step 2, you may use Gmail or any other email app installed on your iPhone. Transfer iPhone Voice Memos to Mac Using Dropbox, Google Drive, Box, etc.
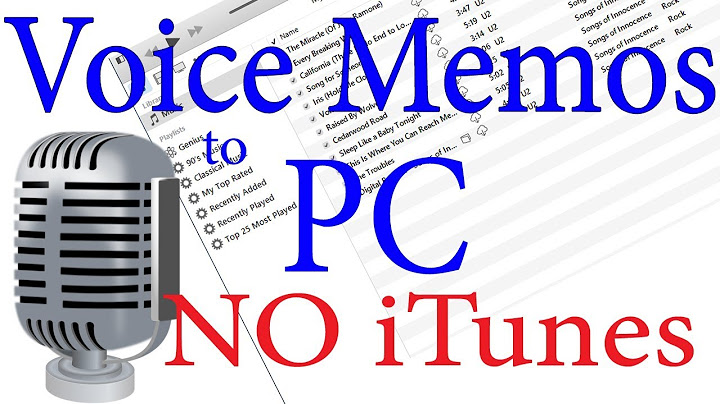
How to Transfer Voice Recordings from iPhone to Mac Using iTunesThis method is not work on Mac running macOS Catalina. Because Finder has replaced iTunes in this version of macOS. And sadly, the ability to sync voice memos is no longer available in the Sync Music section on macOS Catalina. So, if you use Windows PC or earlier macOS version, read on.
Now all your voice memos are transferred from iPhone to iTunes. You can see them in the Songs section. From here, you can drag and drop the voice notes to your desktop.  If you want to find all the voice notes in your hard drive:
Signing off…So, as you can see, there are multiple ways to transfer voice memos from iPhone to Mac. Moreover, most of the methods, except the iCloud sync and AirDrop, can be used even on Windows computers. You would like to read these posts as well:
Which method do you find the easiest? Share your thoughts in the comments below. In my opinion, it’s the first one. iGeeksBlog has affiliate and sponsored partnerships. We may earn commissions on purchases made using our links. However, this doesn’t affect the recommendations our writers make. You can read more about our review and editorial process here.
Jignesh Padhiyar is the co-founder of iGeeksBlog.com, who has a keen eye for news, rumors, and all the unusual stuff around Apple products. During his tight schedule, Jignesh finds some moments of respite to share side-splitting content on social media. On our 10th Anniversary, get 3 ebook buddle for $5. X How do I transfer voice memos to Apple Music?Connect the iPhone to the computer and open the iTunes app. Tap the iPhone button 1 in the iTunes menu. This button appears in iTunes when you connect the iPhone to the computer. Go to the Music section 2 and check the boxes for “Sync Music”3 and “Include voice memos” 4.
How do I transfer voice memos?How to download Voice Memos from your iPhone. Open the Voice Memos app on your iPhone. Open the Voice Memos app. ... . Select the memo you would like to share by tapping the title.. When you tap it, the memo will expand. ... . Tap "Share…" at the top of the pop-up menu. ... . After you do this, a different pop-up menu will appear.. |

How to transfer voice memos to music app without computer
Related Posts


Copyright © 2024 mempelajari Inc.